Starting your DevOps Journey as a Windows User
Install WSL, DevOps in windows, installing Docker in windows, Minikube and Kubernetes for windows

Why DevOps? #
"DevOps" has become a new buzzword in the tech industry. With booming career opportunities and good pay even for freshers, this is the right time for you to get started with your DevOps journey. Now the question that stands is how a Windows user can get started?
Other Options #
As a Windows user, you can either dual boot your system with your favourite Linux distro or use WSL(more about this below) provided by windows. In this blog we will be covering WSL.
What is WSL? #
Windows Subsystem for Linux (WSL) lets developers run a GNU/Linux environment -- including most command-line tools, utilities, and applications -- directly on Windows, unmodified, without the overhead of a traditional virtual machine or dual-boot setup.
Installing WSL #
- Run this command in an administrator Powershell or Command Prompt
wsl --installThis command will enable the required optional components, download the latest Linux kernel, set WSL 2 as your default, and install a Linux distribution for you (Ubuntu by default)
-
Once Ubuntu is downloaded you will be asked to reboot your system for the changes to take place.
-
To change the distribution installed, enter:
wsl --install -d <Distribution Name>. Replace<Distribution Name>with the name of the distribution you would like to install. -
To list out the available Linux distributions available for download through the online store, enter:
wsl --list --onlineorwsl -l -o. -
To install additional Linux distributions after the initial install, you may also use the command:
wsl --install -d <Distribution Name>. -
After this, you will be asked to set a username and password for your system.
- To verify if Ubuntu(or any other Distro) is installed, you can simply search for it through the windows search bar and check if it's present.
- You can even verify your shell by running this command
echo $SHELL
Git #
If you have been in the tech space for a while you might have heard the word GitHub. If not, no worries you can check out this blog by Nitin Gouda. This will give you a hands-on experience with the Git commands.
-
Install Git from here
-
To verify it's installation run
git --version

- Download the latest stable version of Git by using this command
sudo apt-get install git- Open a command line and set your name with this command(Replace 'Your Name' with your preferred username)
git config --global user.name "Your Name"- Set your email using this command(replace "youremail@domain.com" with the email you prefer)
git config --global user.email "youremail@domain.com"Installing Oh-My-Zsh(Optional) #
Oh-my-zsh is used to help efficiently manage and configure the ZSH shell. It comes packed with functions, themes, and plugins to improve the default ZSH shell. Although there are many different frameworks but Oh-My-Zsh is very efficient and easy to configure.
- To install zsh, run
sudo apt-get update && sudo apt-get install -y zshthis will update the latest package info and install zsh.
-
After it is installed, you should be able to see it in
/etc/shells. -
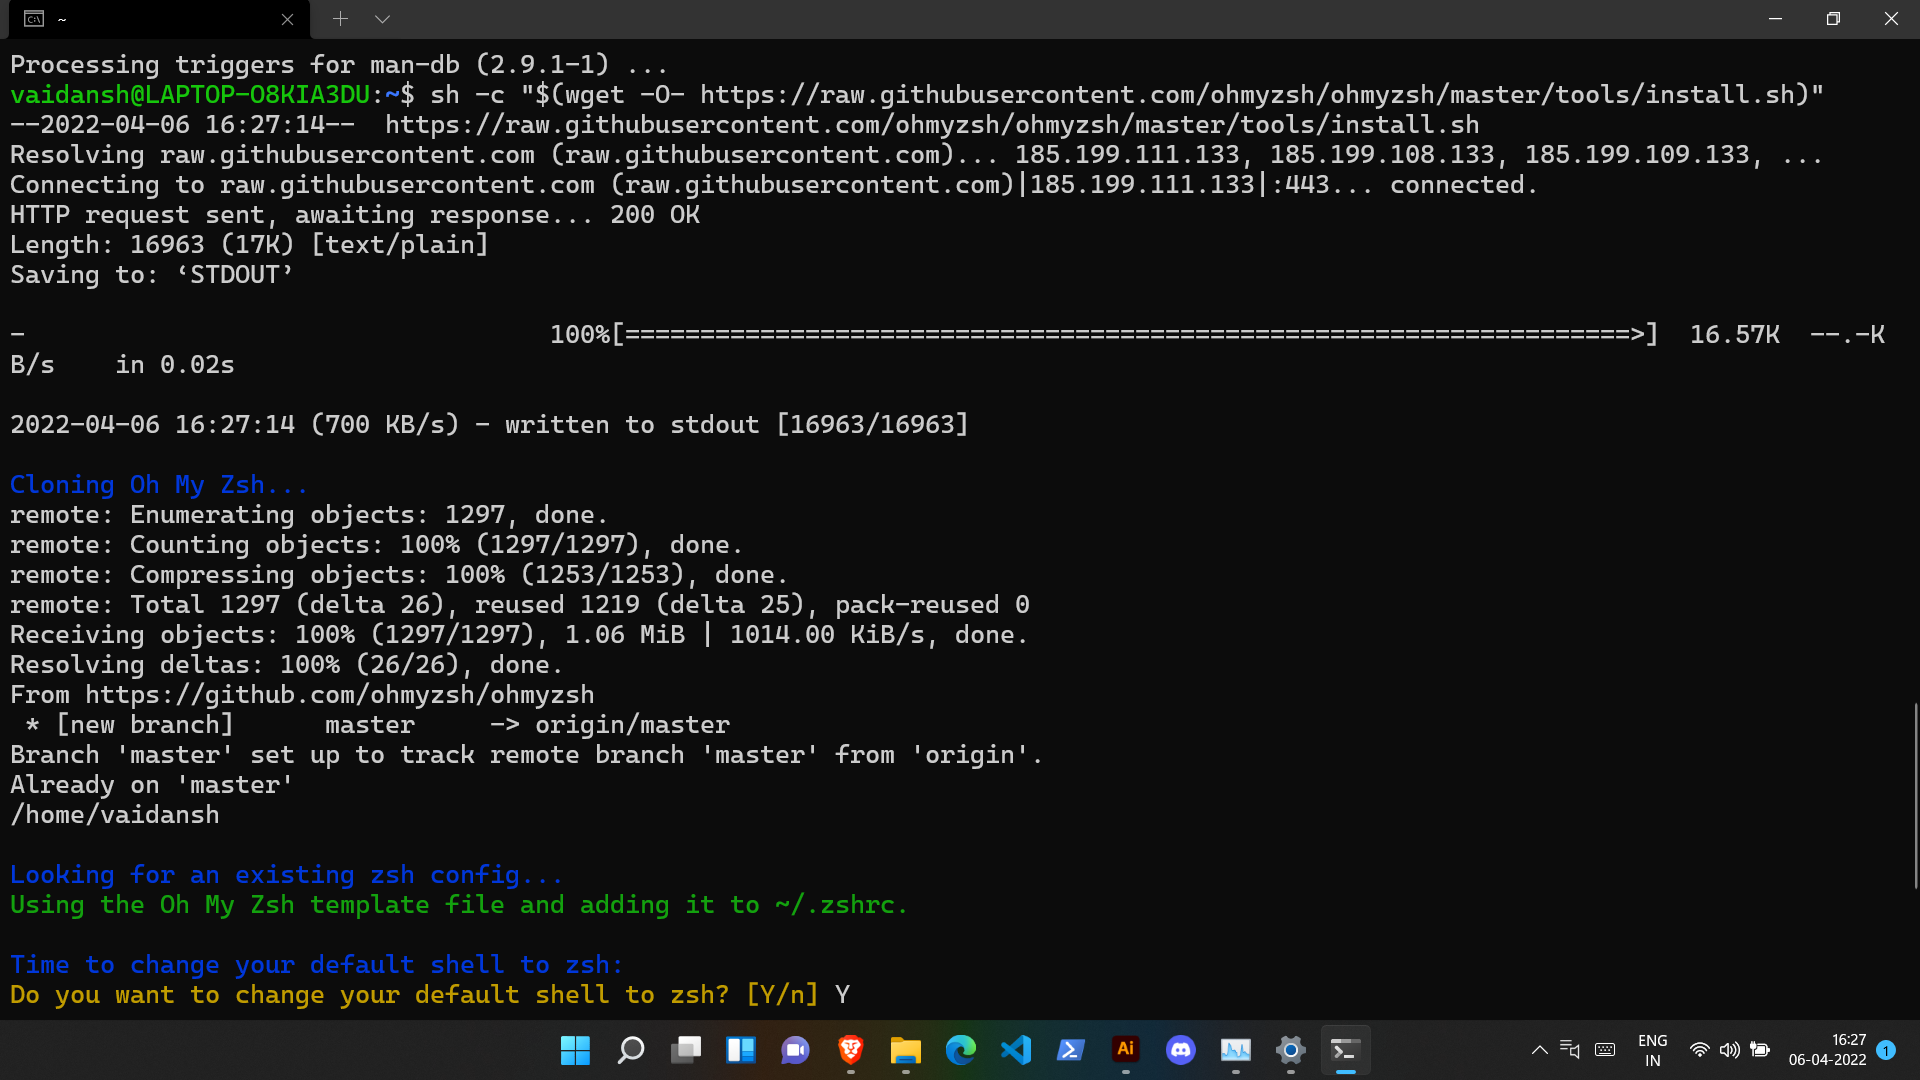
To install the OhMyZsh framework, run this command
sh -c "$(wget -O- https://raw.githubusercontent.com/ohmyzsh/ohmyzsh/master/tools/install.sh)"- Press
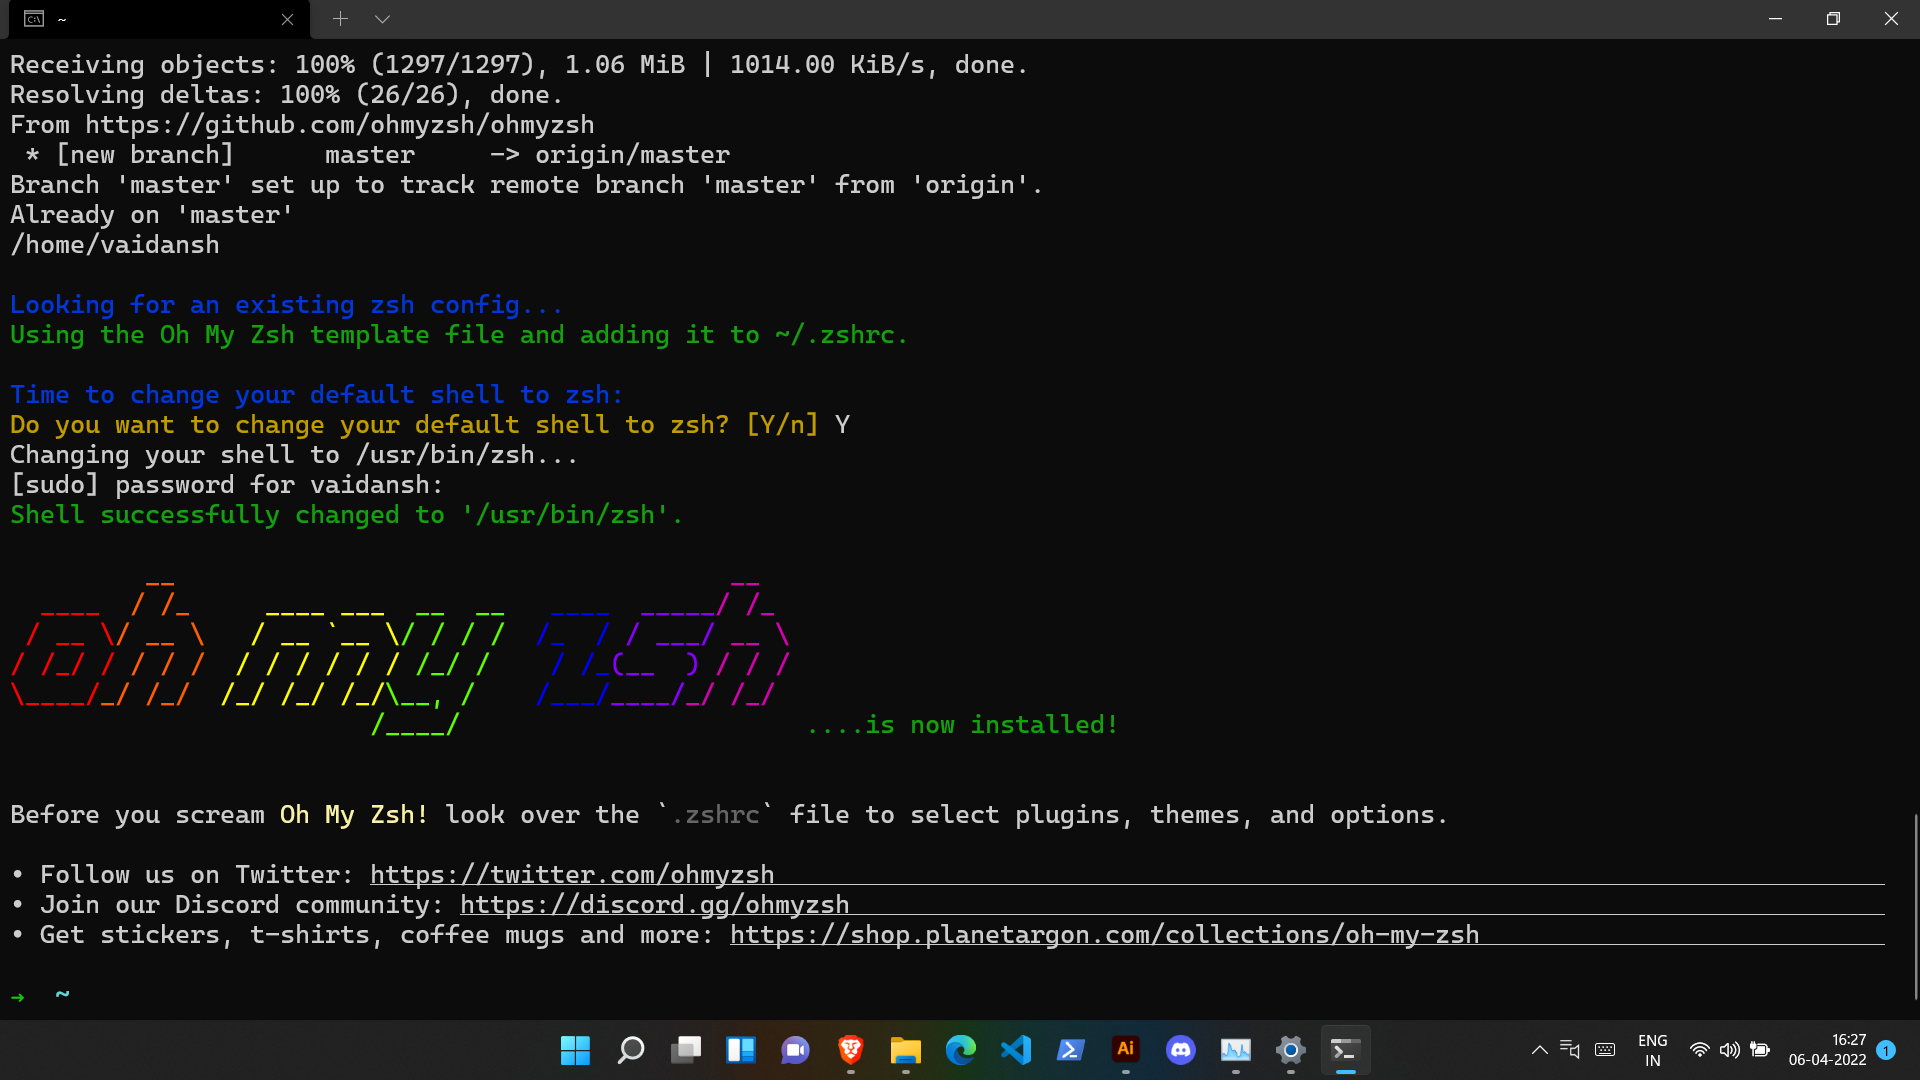
Y, to set zsh as your default shell.
- As it gets successfully installed, the prompt will start looking different !!
- Oh-My-Zsh offers a ton of useful plugins, themes that can be installed from here (By default, the robbyrussell theme is applied)
Docker 🐋 #
Docker Desktop is an easy-to-install application for your Mac or Windows environment that enables you to build and share containerized applications and microservices.
-
Firstly, you have to install the Linux kernel update package.
-
Install the latest version of Docker Desktop from here
-
If your device supports WSL2, Docker Desktop will prompt you to enable WSL2 during installation.
-
However, go to Settings > General and select the Use the WSL 2 based engine option. This option will be enabled by default if your device supports WSL2.
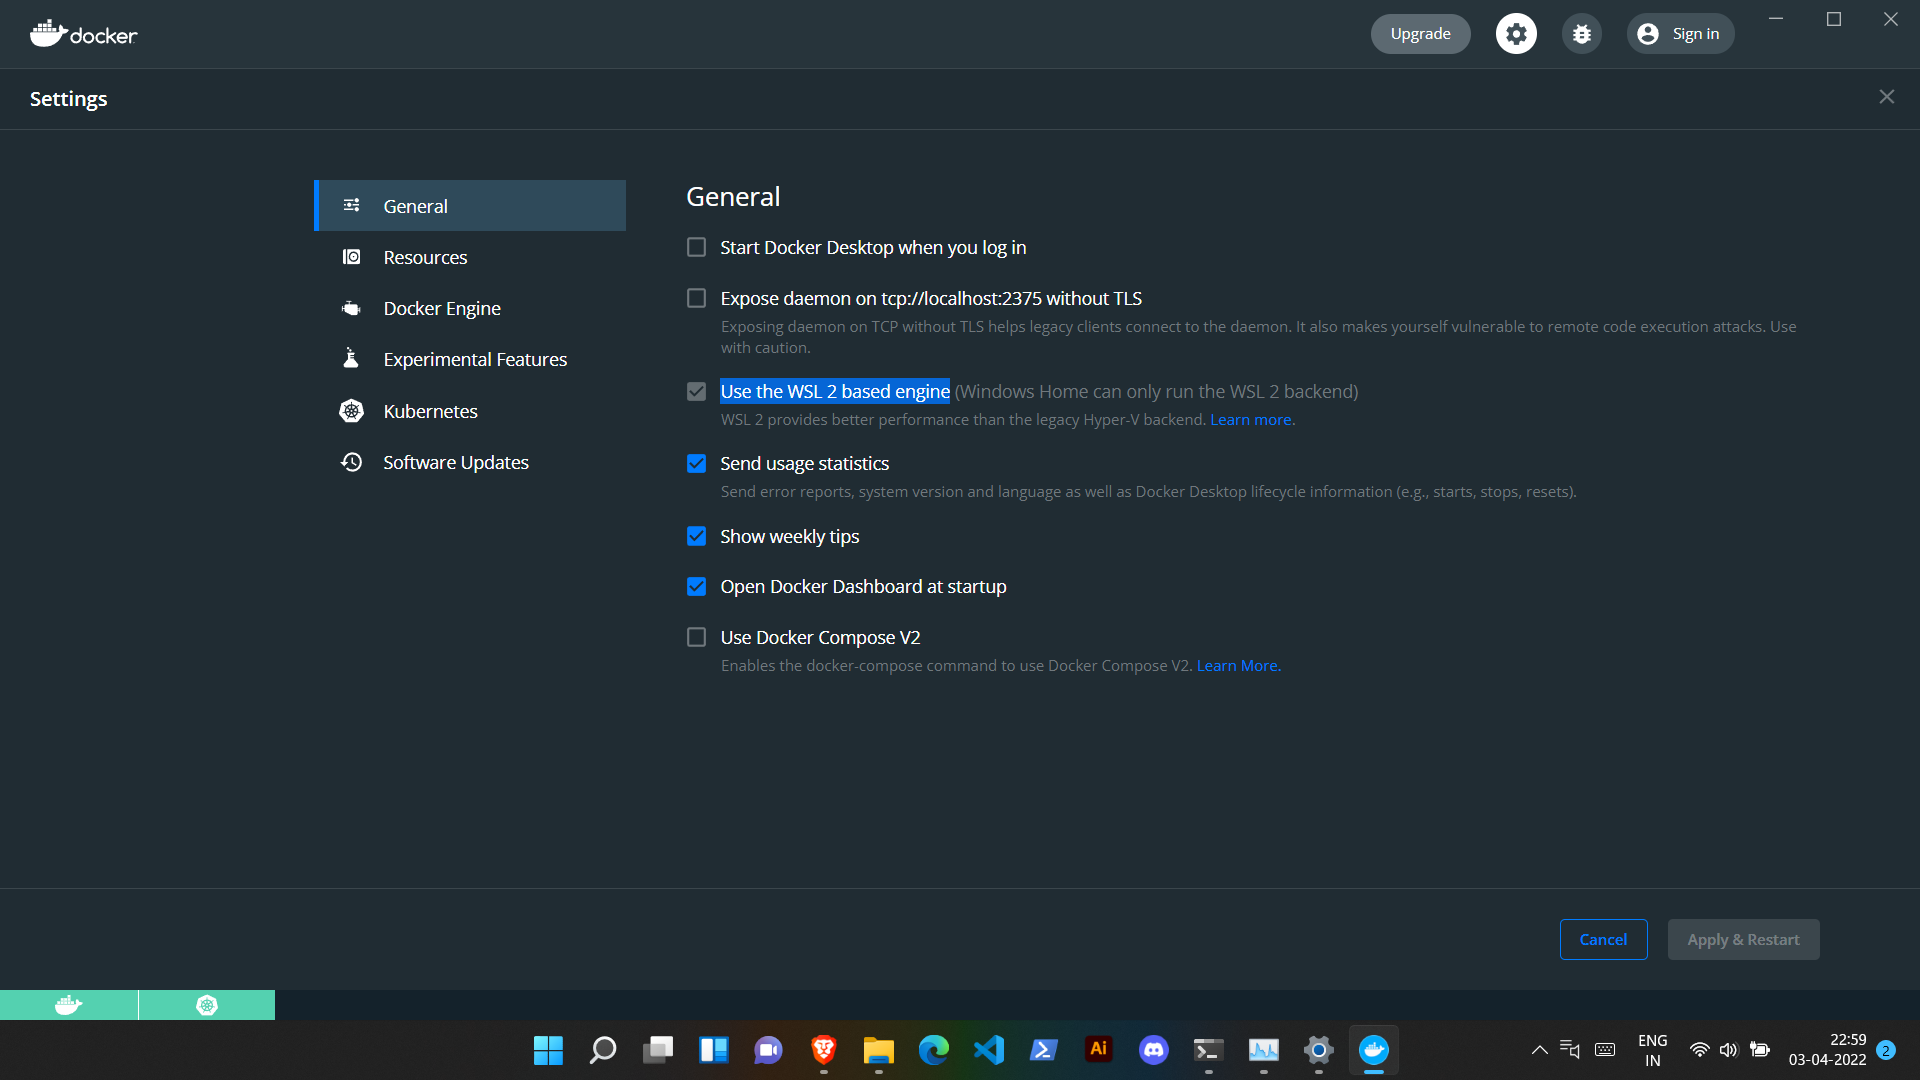
-
Now, click Apply & Restart
-
Refer to the official WSL2 backend doc by Docker for more help.
-
Now run this command
docker run hello-worldIf you received this as your output :
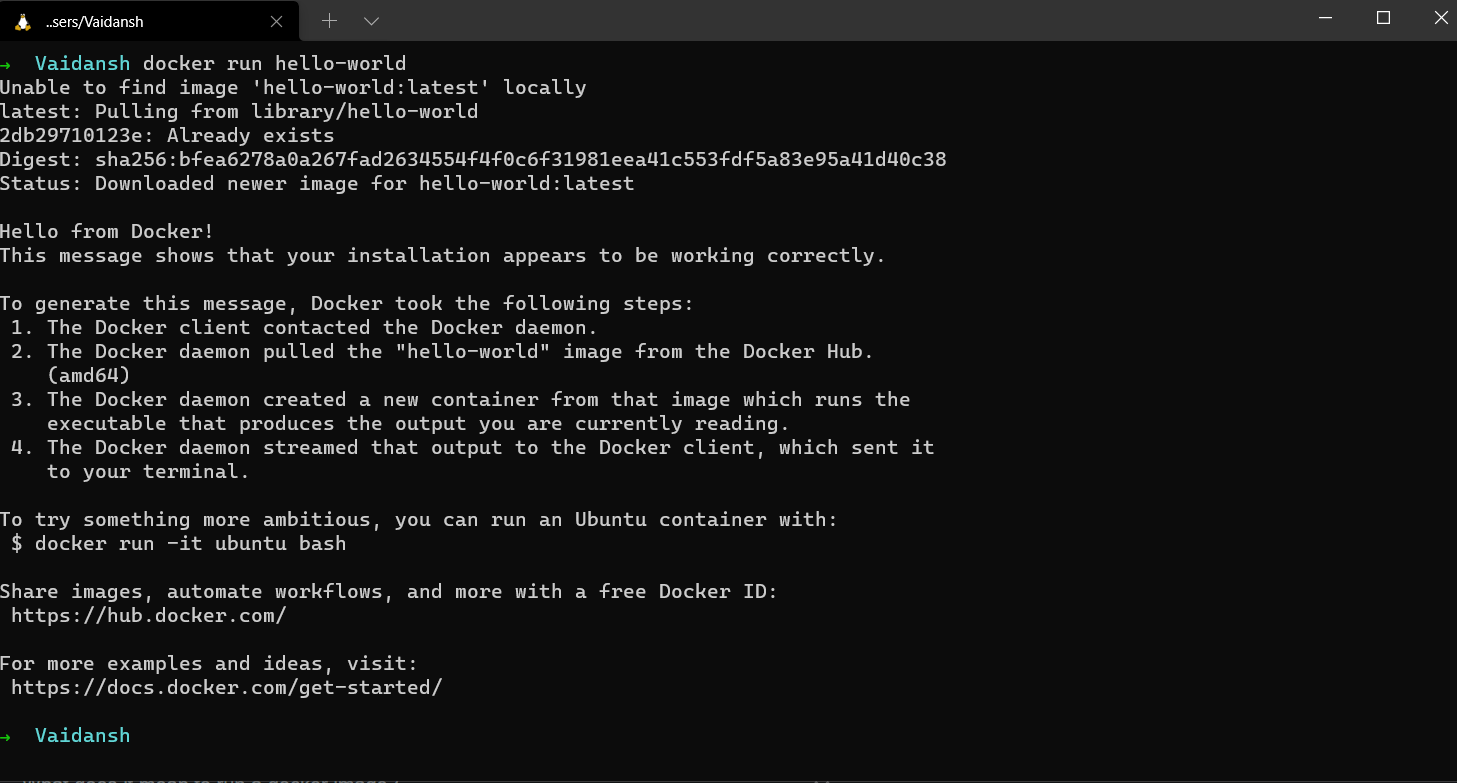
Congrats!! You just ran your first docker image!!
- Now, Enable Kubernetes through the Docker settings
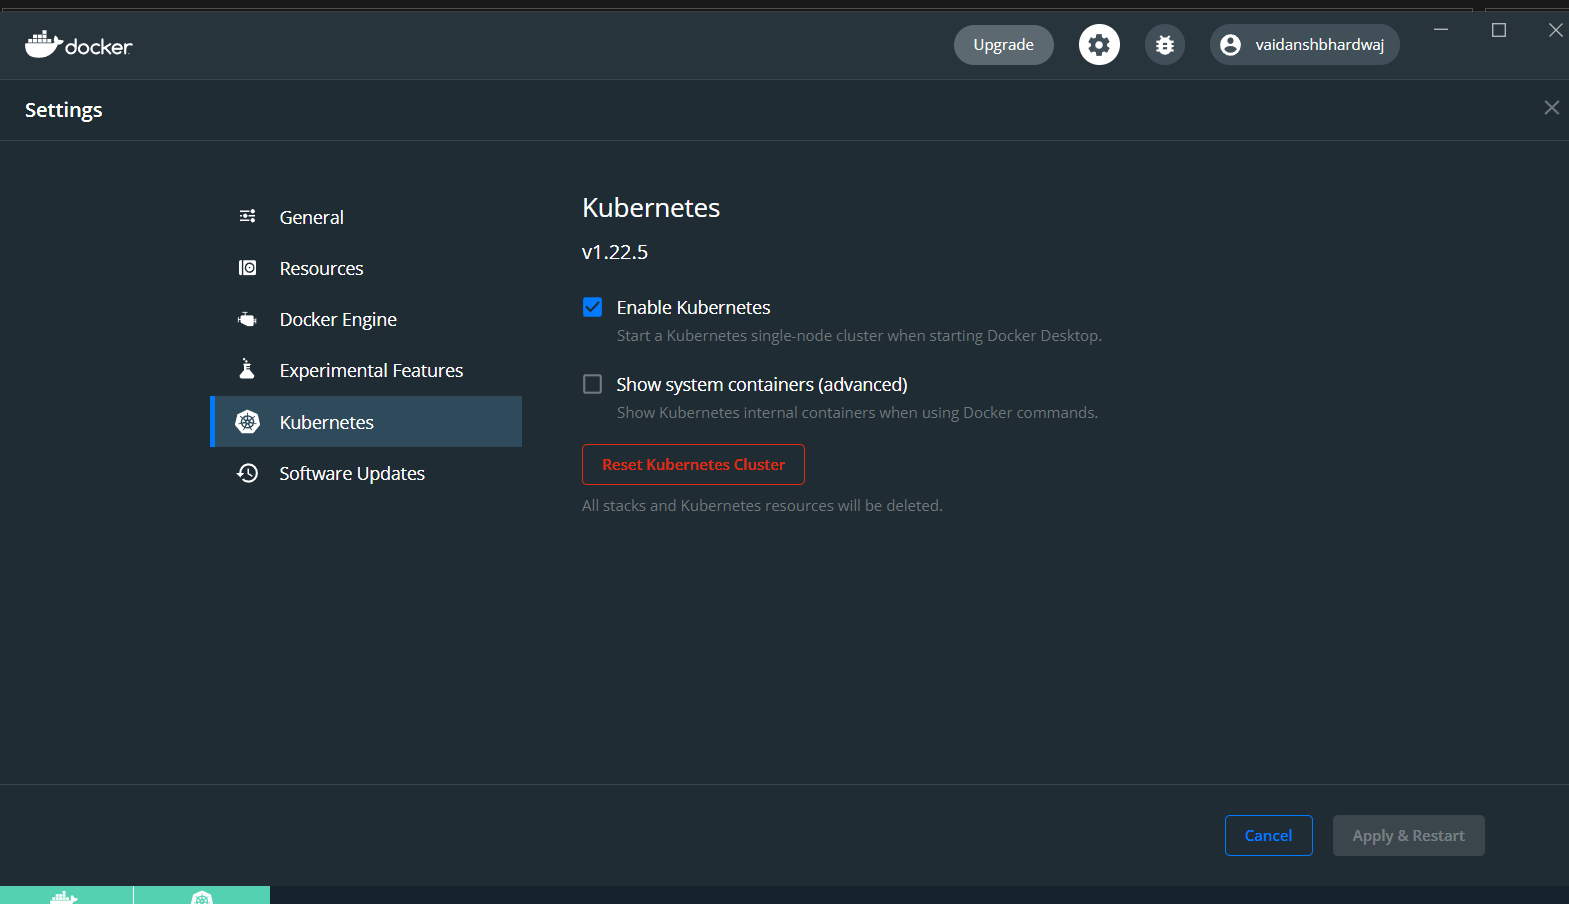
Kubernetes #
Kubernetes is an open-source container orchestration engine for automating deployment, scaling, and management of containerized applications. The open-source project is hosted by the Cloud Native Computing Foundation(CNCF)
Few tools/services that are necessary for Kubernetes are :
- Kubectl : The Kubernetes command-line tool
- Minikube : quickly sets up a local Kubernetes cluster on macOS, Linux, and Windows.
- Cloud Provider : a third-party company offering a cloud-based platform, infrastructure, application or storage services. Ex~ Amazon Web Sevices(AWS), Civo, Microsoft Azure.
I. Run this command to know your Linux architecture(64-bit or 32-bit)
uname -mIf your output was x86_64 i.e 64-bit, you're good to go with the below steps; on the other hand, if
your Linux architecture is ARM64 or ARM7, etc, refer to the official doc by minikube.
II. This command will install the latest minikube stable release on x86-64 Linux using binary download :
curl -LO https://storage.googleapis.com/minikube/releases/latest/minikube-linux-amd64
sudo install minikube-linux-amd64 /usr/local/bin/minikube
If you get an error message saying curl command not found, no worries, just run this command and
after that repeat the above step :
sudo apt update
sudo apt install curl
III. Now start your cluster from a terminal with administrator access :
minikube start
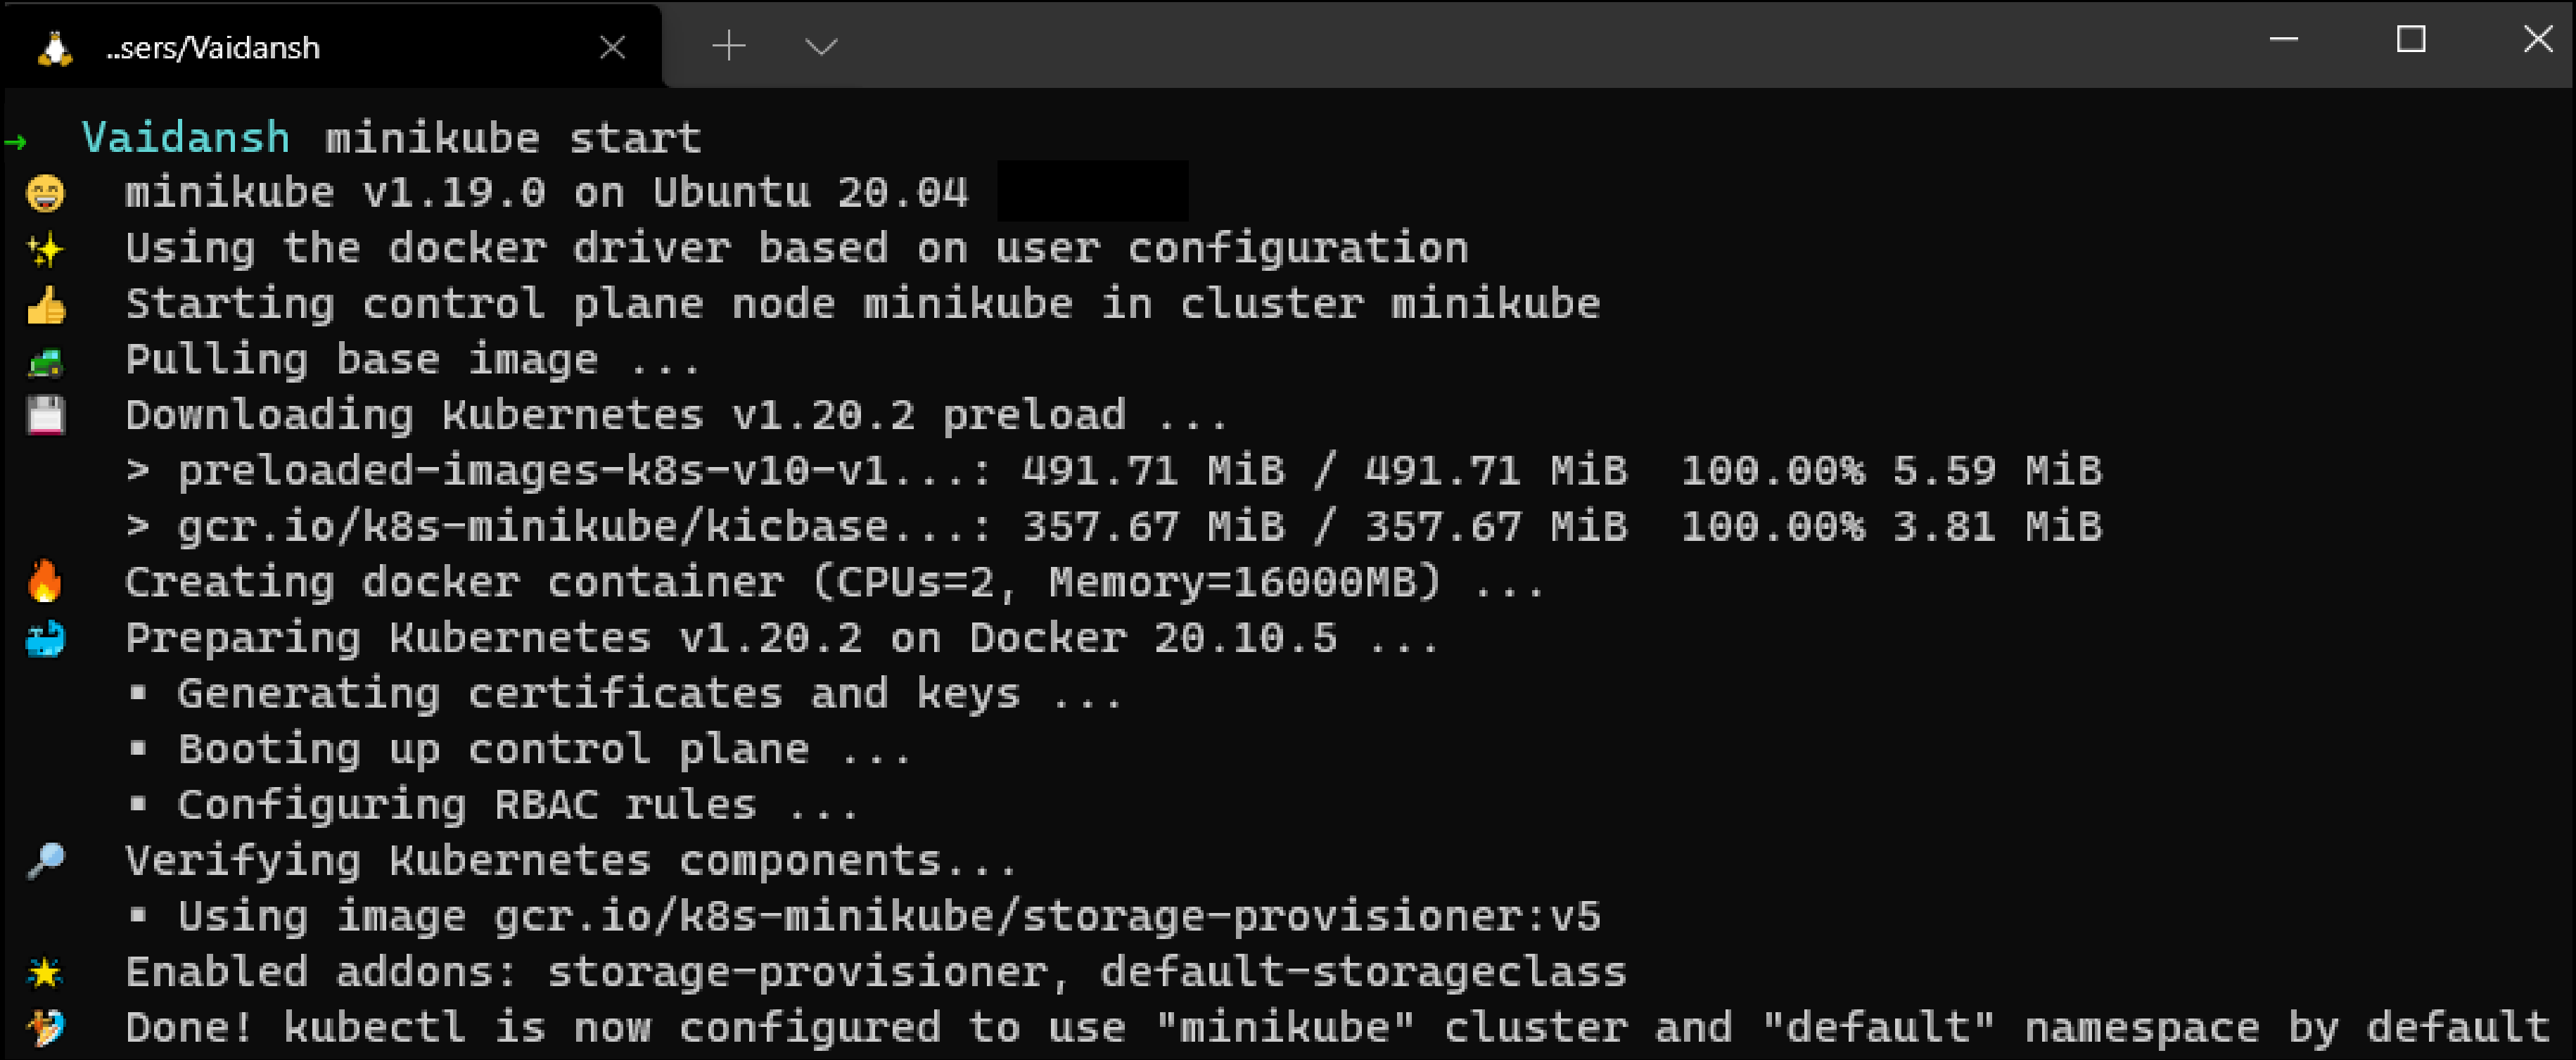
If minikube fails to start check this drivers page for setting up a compatible container or virtual-machine.
- Download the latest release by running this command :
curl -LO "https://dl.k8s.io/release/$(curl -L -s https://dl.k8s.io/release/stable.txt)/bin/linux/amd64/kubectl"
- Validating the binary (Optional step) :
I. Download the kubectl checksum file with this command :
curl -LO "https://dl.k8s.io/$(curl -L -s
https://dl.k8s.io/release/stable.txt)/bin/linux/amd64/kubectl.sha256"
II. Now we will validate the kubectl binary against the downloaded checksum file with this command :
echo "$(cat kubectl.sha256) kubectl" | sha256sum --checkIII. If valid, the output will be :
kubectl: OK

If the check fails the output will look similar to
kubectl-convert: FAILED
sha256sum: WARNING: 1 computed checksum did NOT match
as sha256 exits with nonzero status
NOTE : To resolve this error download the same version of the binary and the checksum from here
IV. Install Kubectl
sudo install -o root -g root -m 0755 kubectl /usr/local/bin/kubectl
V. To ensure that the version installed is up-to-date :
kubectl version --clientor use this command for a detailed view(YAML form) :
kubectl version --client --output=yaml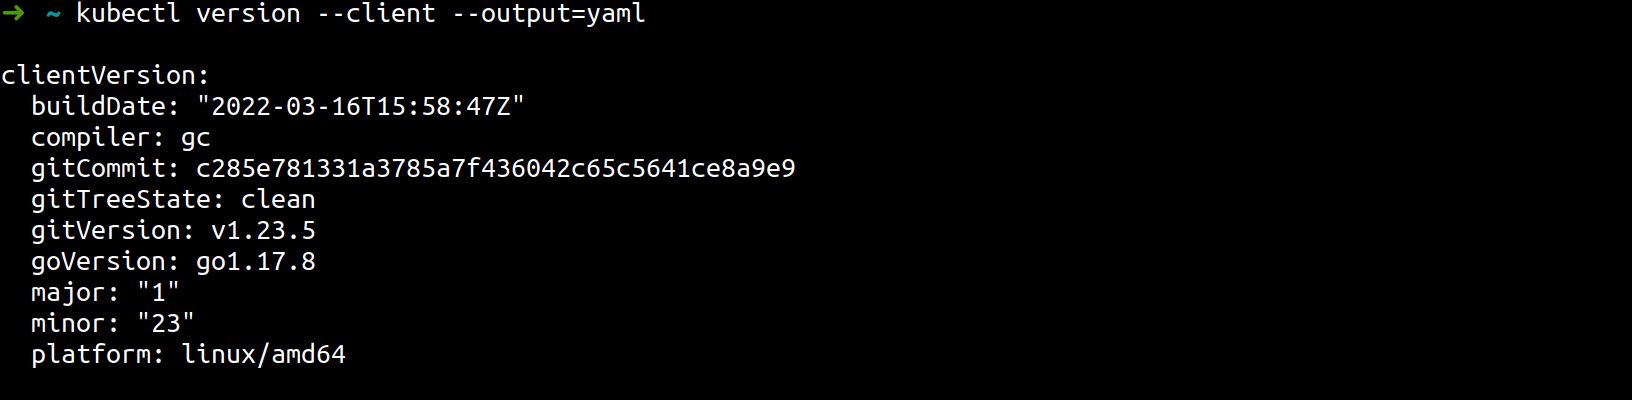
In order for kubectl to find and access a Kubernetes cluster, it needs a kubeconfig file, which is created automatically when you create a cluster using kube-up.sh or successfully deploy a Minikube cluster. By default, kubectl configuration is located at ~/.kube/config.
Now let's check that kubectl is properly configured by getting the cluster state using this command :
NOTE : Remember to start your minikube cluster (
minikube start)before running this command.
kubectl cluster-info
a. If you see a URL response like this :
 this means that kubectl is configured correctly to access your cluster.
b. If you get an output like this :
The connection to the server <server-name:port> was refused - did you specify the right host or port?
Try restarting your minikube cluster using minikube delete and then again minikube start.
For more issues refer this
Lens #
Lens gives you a powerful interface and toolkit for managing, visualizing, and interacting with multiple Kubernetes clusters, while always remaining in proper context.
Installing Lens is pretty straightforward, you just have to download the setup file and install Lens
What's Next #
- Join amazing communities and start learning your favourites technologies in public.
- Now that you have installed these, you can proceed with your DevOps journey by joining KubeSimplify's discord server where you will find like-minded people who are also learning Devops and are ready to guide you if you get stuck!!
Learning Resources #
Thanks for stopping by!! Lots of luck✌️
Get new posts in your inbox.
Spotted a typo or want to improve this post? Edit on GitHub →